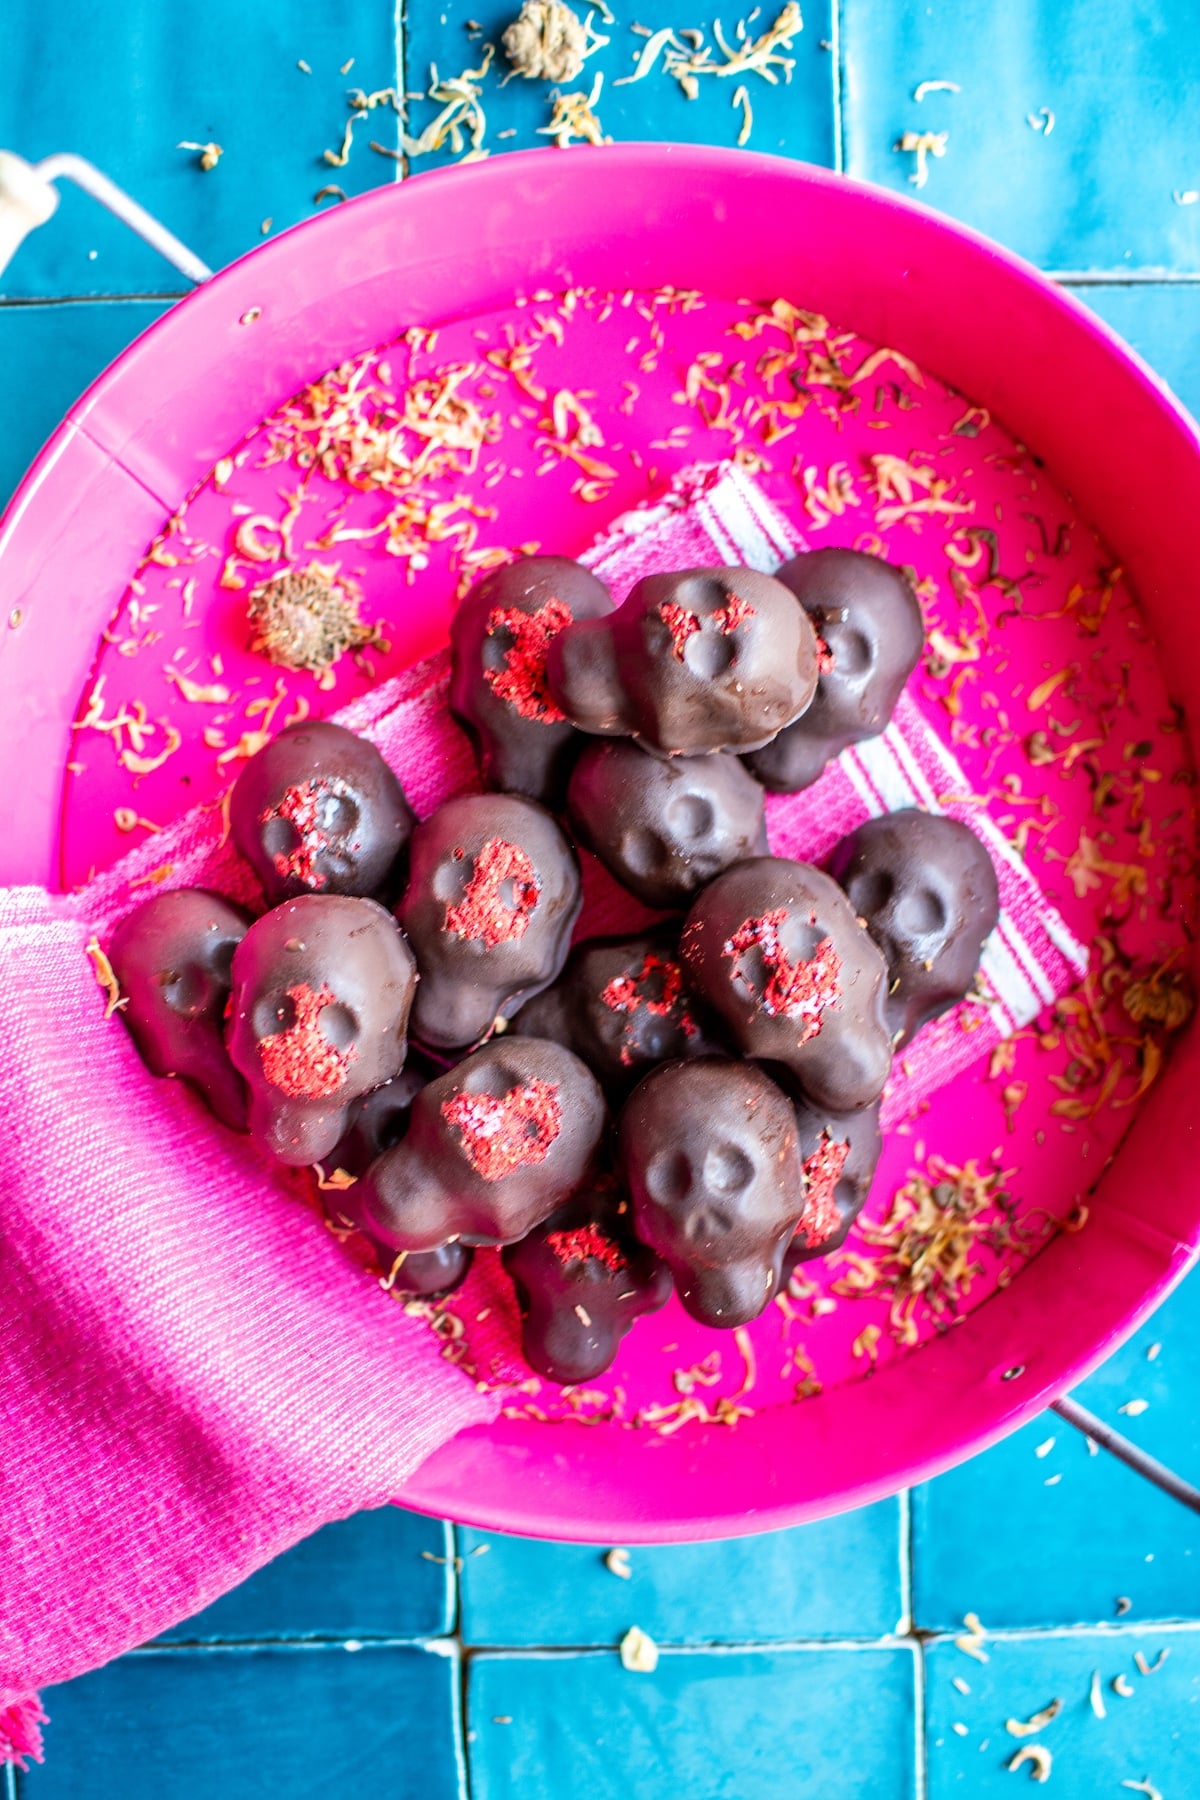
Melt chocolate: Chop 12 ounces of chocolate into small pieces and place in a heatproof bowl. Fill a small saucepan halfway with water and place over medium heat. Once water is simmering set bowl over saucepan and melt chocolate, stirring occasionally, until smooth. You can also do this in 30-second spurts in the microwave.
Meanwhile, pour the bag of strawberries into the bowl of a food processor fitted with the blade attachment. Pulse until they are in fine crumbs.
Make filling: Crush 2 graham crackers in a sealed plastic bag with a rolling pin. Pour graham cracker crumbs, 1/3 cup powdered sugar, and 1/2 cup peanut butter into a medium mixing bowl. Reserve 1 tablespoon of the strawberry crumbs and pour the rest into the bowl. Beat peanut butter mixture until crumbly and combined.
Assemble: Sprinkle a pinch of reserved strawberry crumbs and a pinch of salt into the bottom of each skull mold. (If you'd like completely smooth chocolate skulls, skip this step). Top with 1-2 teaspoons of the melted chocolate, depending on how large or small your molds are. Keep chocolate over the bowl of hot water when not using to keep it melted.
Using the paint brush, gently spread the chocolate around until it covers the strawberries and salt, trying not to pick any of it up with the brush. After you've covered the strawberries take any remaining chocolate and brush it up the sides of each mold, you might need to use extra chocolate. Keep the coating thin, you want a layer that is about 1/16-inch thick. Set in freezer to harden, about 5 minutes.
Remove from freezer and fill each mold with about 2 teaspoons of the peanut butter mixture. The amount will vary depending on the size of your mold, but you want the skulls to be almost completely full, with a little room left at the top for a thin chocolate layer. Gently press down on the filling to make it firm.
Cover filling with about 1-2 more teaspoons of chocolate, spreading it to cover filling completely. Smooth out the tops if necessary and freeze until solid, about 20 minutes.
Remove from freezer and flip molds upside down on a clean surface. Tap the mold a couple times on the counter to pop out the skulls. If skulls are not coming out, run very briefly under warm water until they release. Let sit 10-15 minutes to defrost before serving.