

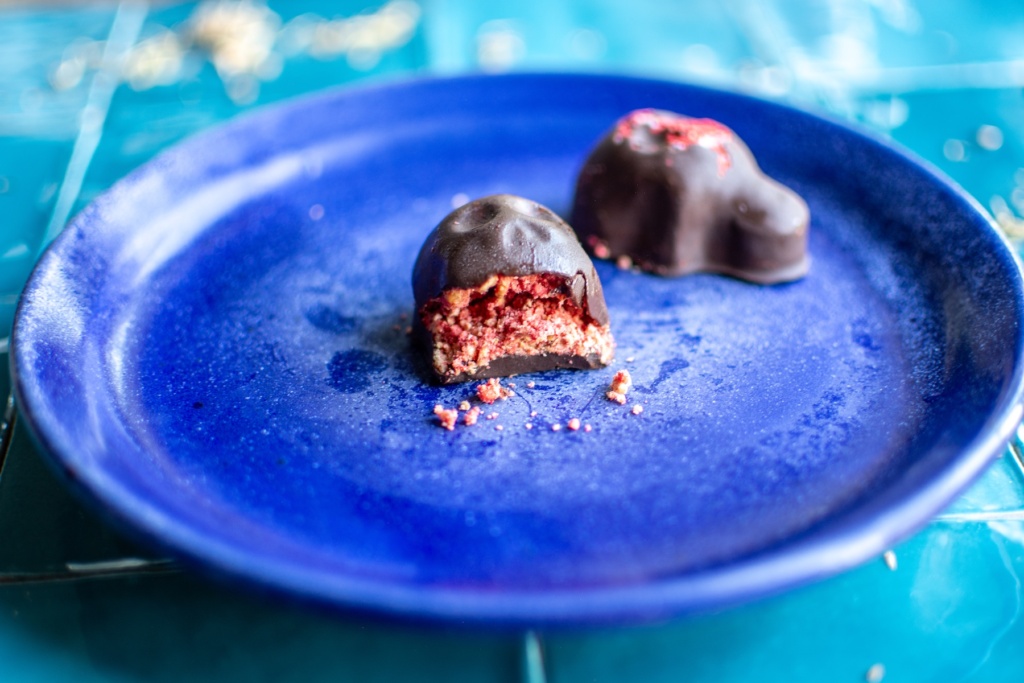
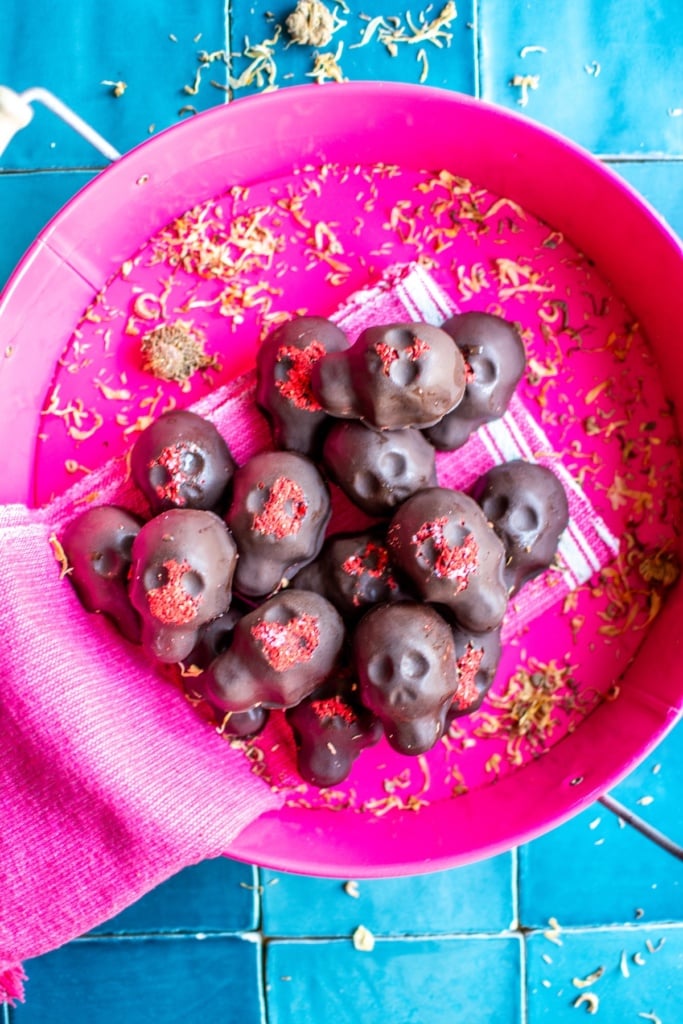
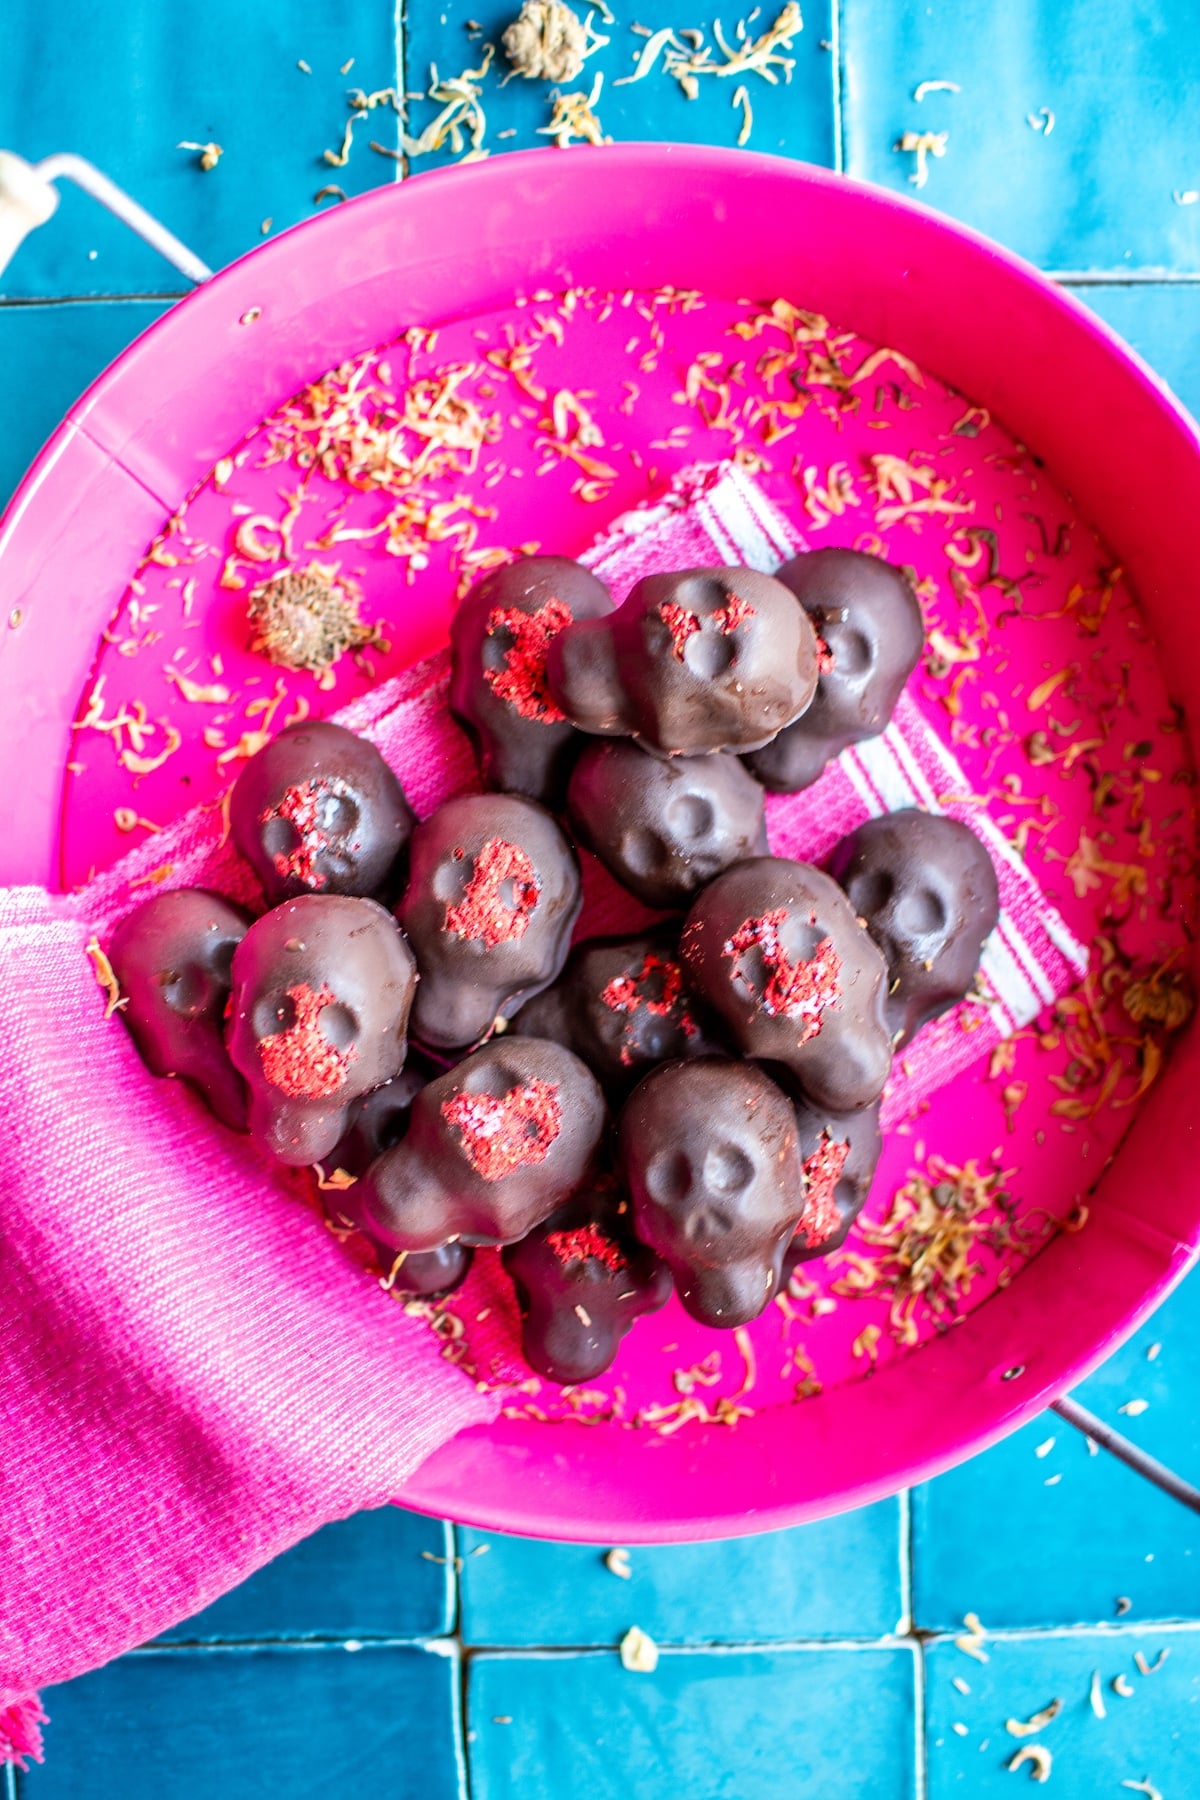
These chocolate calaveras are a fun, festive treat for Halloween or Día de los Muertos, with rich chocolate shells filled with crunchy strawberry-peanut butter filling. Inspired by traditional Mexican sugar skulls, they’re surprisingly simple to make and almost too cute to eat!
This post may contain affiliate links. Read our affiliate policy.
Post last updated with new photos and clearer instructions on October 28, 2026.
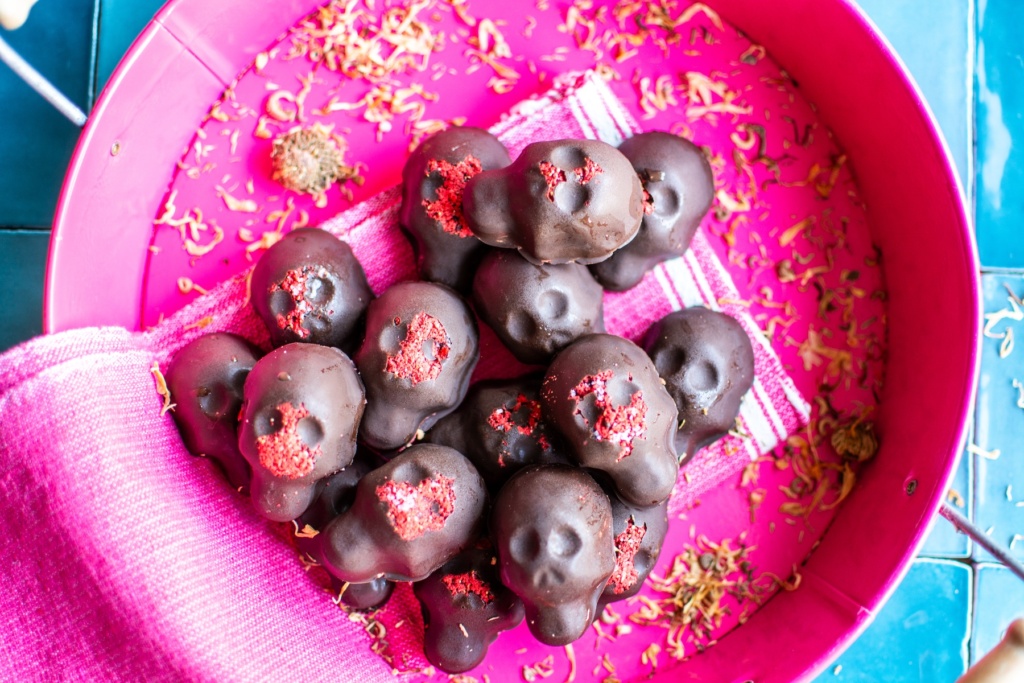
If you’ve ever visited Mexico during Day of the Dead or Día de los Muertos you will have seen the symbolic skull or calavera everywhere.
Typically they are not meant to be eaten but used as decoration on ofrendas or altars dedicated to loved ones who have passed away.
But why not make a few that are not only beautiful but delicious as well?!
You don’t need to be a professional candy maker to make these homemade treats! They start with rich chocolate shell (I personally like dark chocolate but you can use milk or semisweet) then each skull is filled with a nutty peanut butter and strawberry filling.
They’re like a peanut butter cup but more gorgeous and a lot more sophisticated.
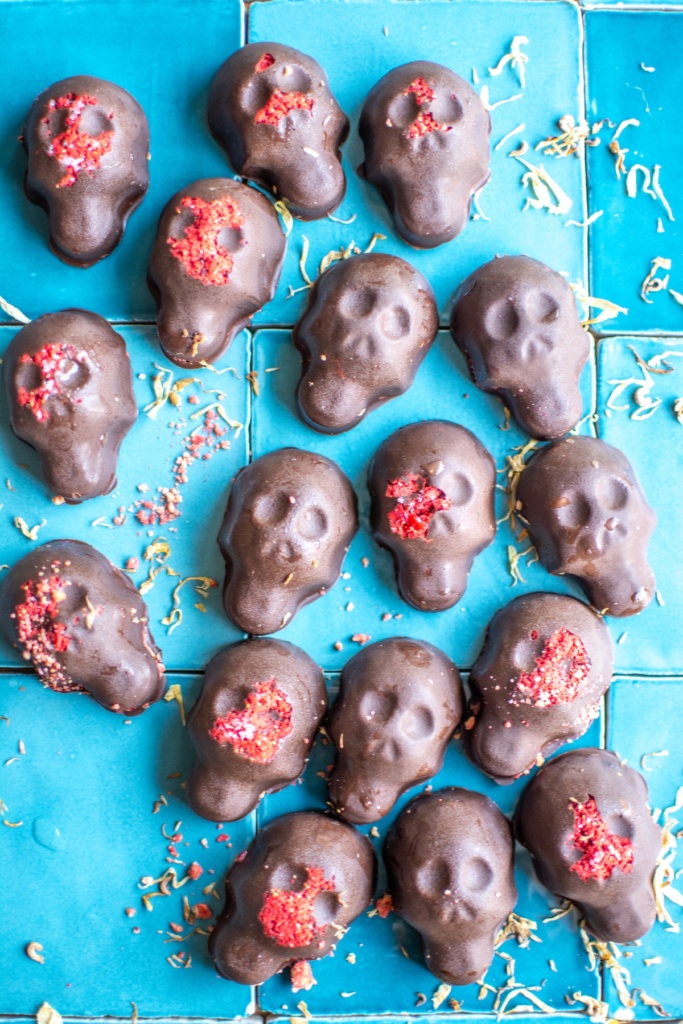
Chocolate Calaveras vs. Traditional Sugar Skulls
Traditional Mexican sugar skulls, or calaveras de azúcar, are an important part of Día de los Muertos. They’re often placed on altars alongside candles, marigolds (or paper flowers), pan de muerto, and photos of seres queridos (loved ones) who have passed away.
Unlike traditional calaveritas de azúcar, which are made with sugar and often decorated with colorful royal icing, these calaveritas de chocolate have a rich chocolate shell filled with peanut butter and freeze-dried strawberries.
They’re a delicious way to bring a little skull-shaped sweetness to your celebration.
Ingredients You’ll Need
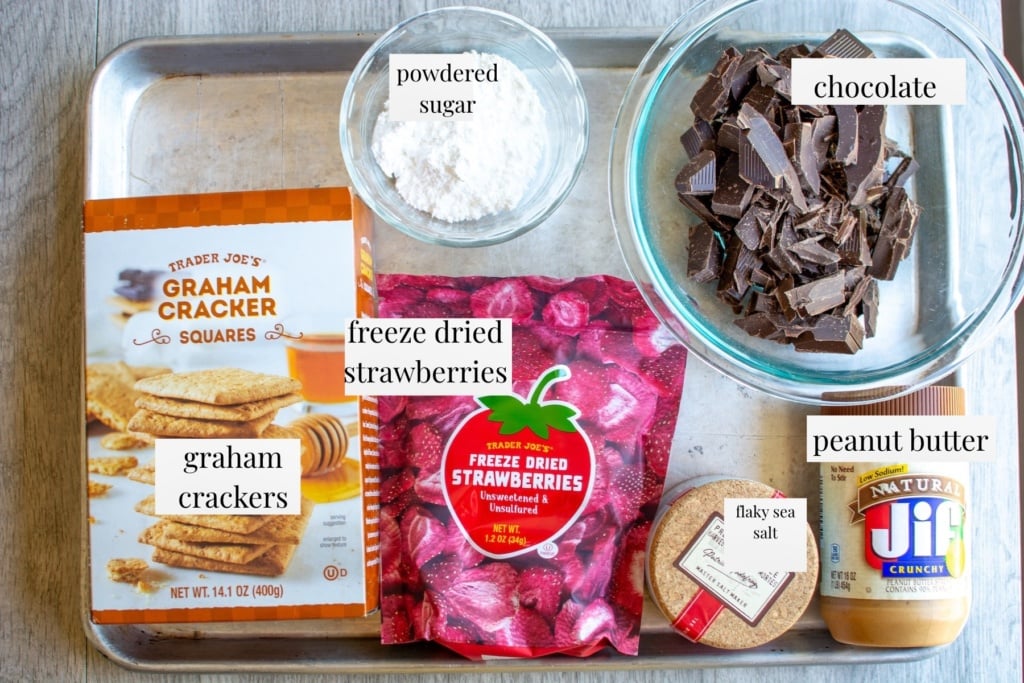
- Chocolate: Use bittersweet, semisweet, or milk chocolate for the shells; bittersweet balances the sweet filling, but chocolate chips from the baking aisle work in a pinch.
- Freeze-Dried Strawberries: Add tart flavor and bright pink color; find them in the dried fruit aisle at Trader Joe’s or Whole Foods, or substitute freeze-dried raspberries.
- Graham Crackers: Add crunch and create that iconic peanut butter cup filling texture; vanilla wafers or digestive biscuits work too.
- Powdered Sugar: Gently sweetens the filling; find it in the baking aisle.
- Chunky Peanut Butter: Makes the filling rich and nutty with a little crunch; creamy peanut butter works if you prefer a smoother texture.
- Flaky Sea Salt: For garnish. This is optional you can leave it off if you’d prefer.
How to Make Chocolate Strawberry Peanut Butter Skulls
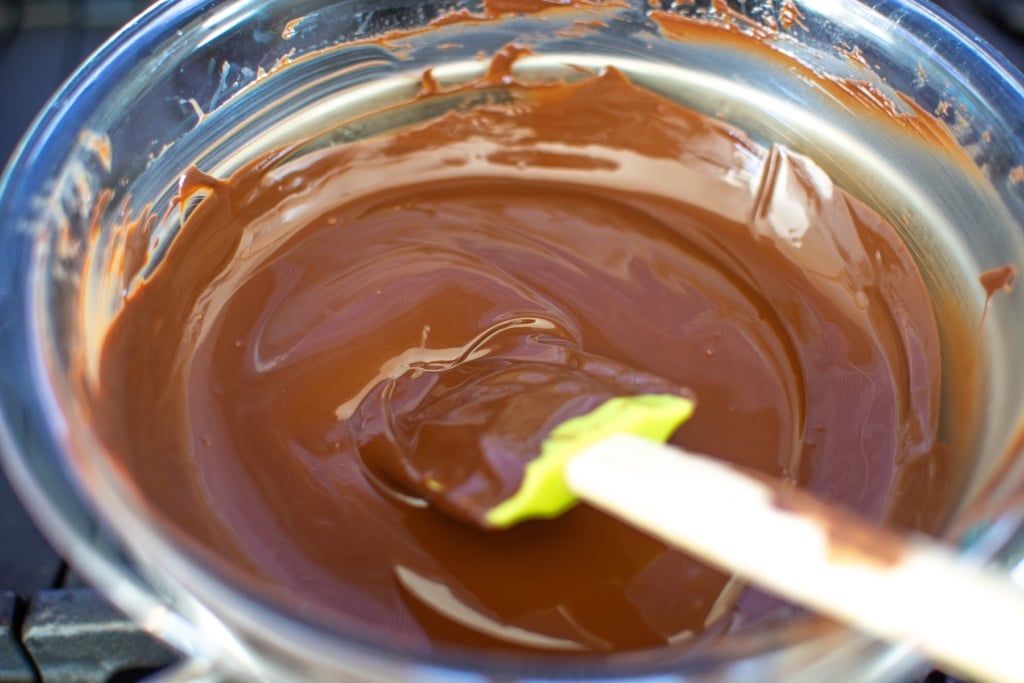
Melt the chocolate. Melt the chocolate using heat-proof bowl over a pan of simmering water on the stove, stirring until smooth. You can also melt the chocolate in 30-second spurts in the microwave.
Prepare the strawberry powder. Grind the freeze-dried strawberries into fine crumbs using a food processor. Set aside a tablespoon for decorating the skulls.
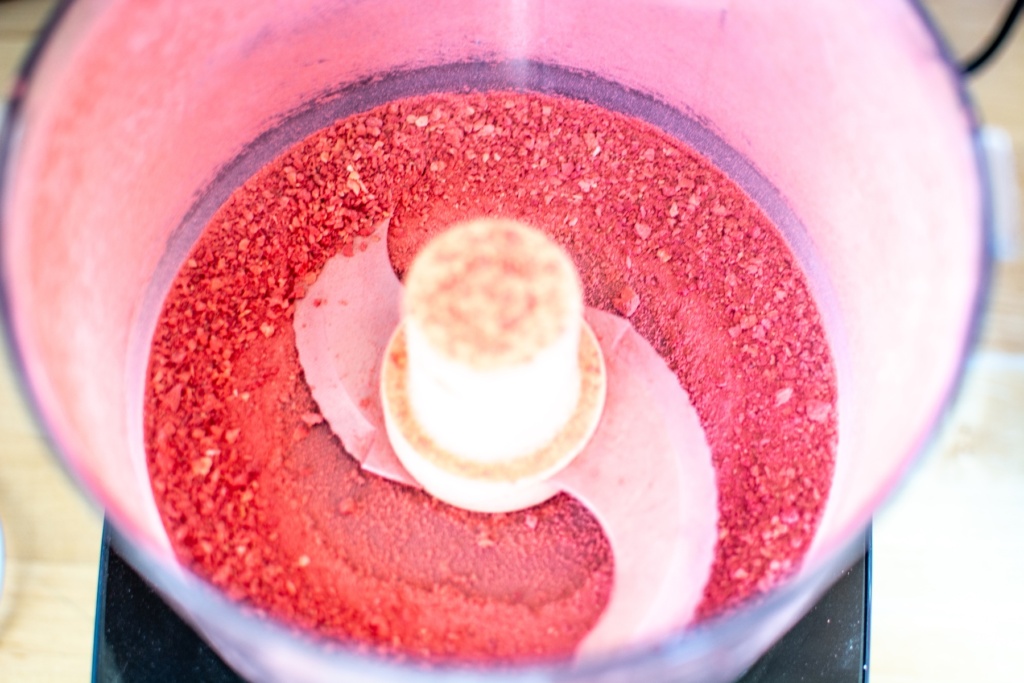
Coat the molds. Sprinkle a pinch of strawberry powder and flaky sea salt into each skull mold. Spoon melted chocolate over the top, then use a very small pastry brush or paint brush to gently spread it across the bottom and up the sides.

Freeze the chocolate shells. Place the molds in the freezer for about 5 minutes, or until the chocolate hardens.

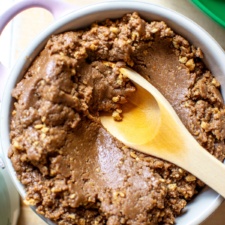
Make the peanut butter filling. Combine crunchy peanut butter, powdered sugar, crushed graham crackers, and the remaining strawberry crumbs until crumbly and combined.
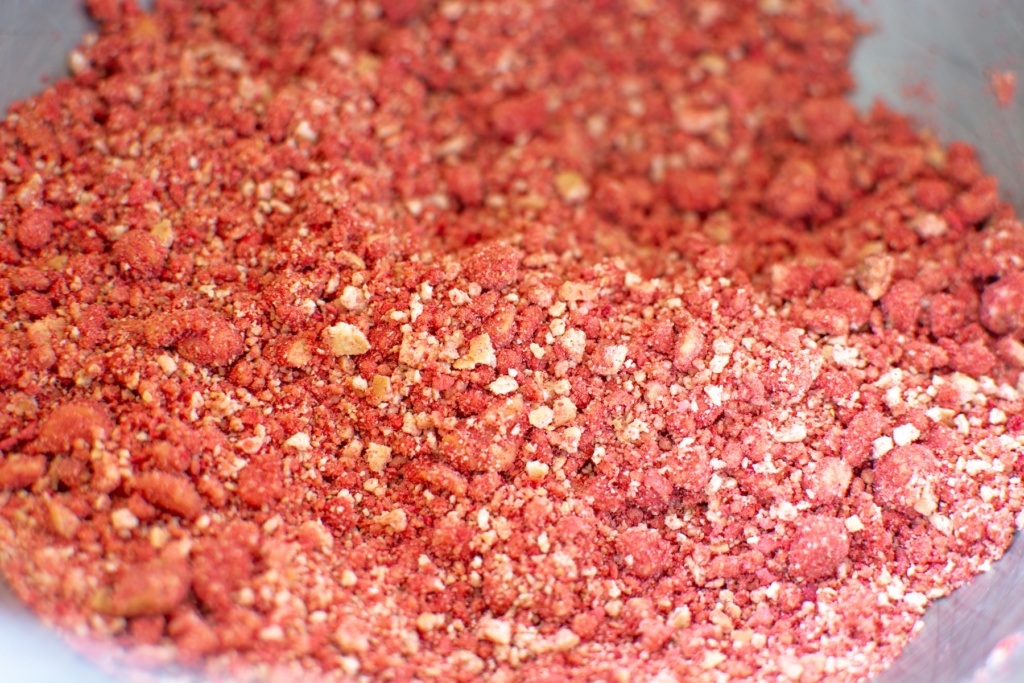
Fill the chocolate skulls. Spoon the peanut butter mixture into each chocolate shell, gently pressing it down and leaving a little room at the top.

Seal with chocolate. Cover the filling with another thin layer of melted chocolate, smoothing the tops. Return the molds to the freezer for about 20 minutes, or until firm.
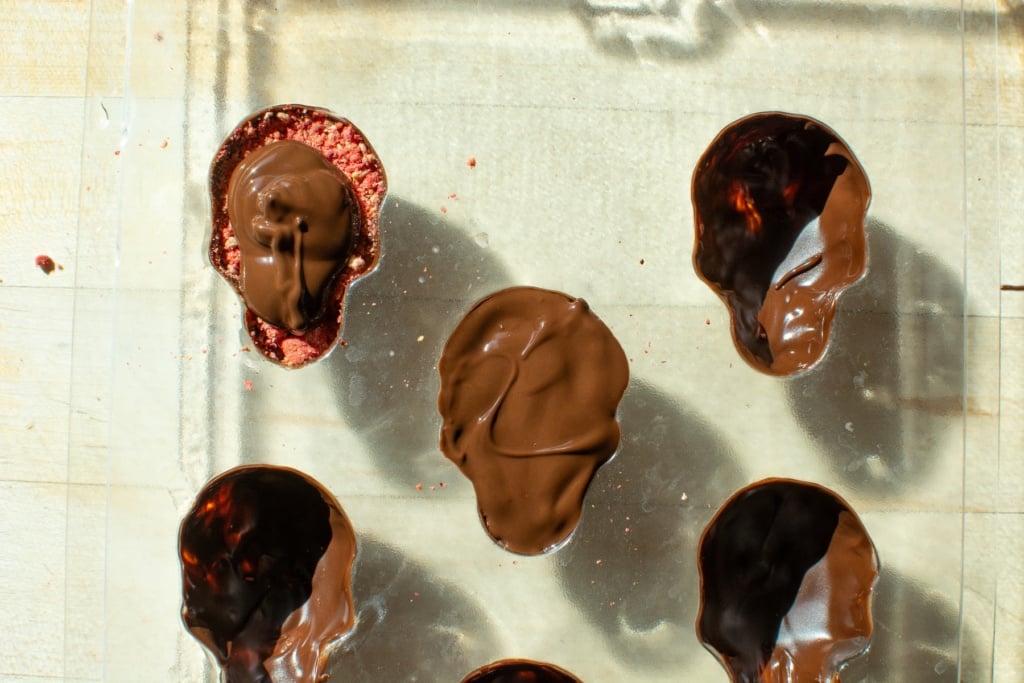
Unmold and serve. Turn the molds upside down and gently tap out your calaveritas de chocolate. If you are having difficulty getting them out of the mold you can run the tops very briefly under warm water until they pop out.
Let them sit at room temperature for 10–15 minutes before serving.
What Kind of Skull Mold Works Best?
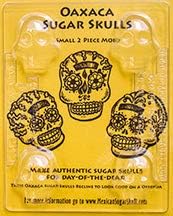
I got my miniature skull mold from Sueños Imports. It’s a six-skull mold, with each cavity about 2 inches long. They also sell silicone molds which are easier to remove the chocolates from.
You can also look for moldes de calavera or small candy molds at baking supply stores. The amount of chocolate and filling you’ll need depends on the size of your mold.
No skull mold? No problem! Use mini muffin cups instead. Check out my peanut butter and pretzel cups recipe for details.
What To Serve At A Día de los Muertos Party
These chocolate skulls are a fun addition to any Día de los Muertos dessert table. If you are throwing a celebration for the holiday and need more ideas. Try:
- Pan de Muerto – A soft, sugar-dusted Mexican bread flavored with orange and anise.
- Atole – A warm, creamy corn-based drink that’s perfect with chocolate treats.
- Marigold Mezcal Margarita – A festive cocktail inspired by the marigolds of Día de los Muertos.
For more inspiration, check out my collection of 20 Día de los Muertos food and drink recipes to plan your holiday menu.
Shop This Post
 Buy Now →
 Buy Now →
 Buy Now →

Plant Powered Mexican Cookbook
Buy Now → Buy Now →
 Buy Now →
How to Store Chocolate Peanut Butter Skulls
Store chocolate skulls in an airtight container in a cool, dry place for a few days or refrigerate for up to a week. For longer storage, freeze for up to a month. Thaw in the refrigerator, then let sit at room temperature for a few minutes before serving.
FAQs
Absolutely! Mini muffin cups or silicone candy molds work just as well. You won’t get the traditional skull shape, but you’ll still have delicious chocolate peanut butter treats.
I wouldn’t recommend it. Fresh strawberries contain moisture that can affect the texture of the peanut butter filling and chocolate. Freeze-dried strawberries provide concentrated flavor and a pretty pink color without adding extra liquid.
Chocolate can seize up if it’s overheated or comes into contact with water. Melt it gently in a heat-proof bowl over a pan of simmering water stirring occasionally, and keep water and steam out of the bowl. It also may be too thick because it has cooled. Place the bowl back over the simmering water to loosen again.
Chocolate Calaveras Recipe for Día de los Muertos
Ingredients
Equipment
Method
- Melt chocolate: Chop 12 ounces of chocolate into small pieces and place in a heatproof bowl. Fill a small saucepan halfway with water and place over medium heat. Once water is simmering set bowl over saucepan and melt chocolate, stirring occasionally, until smooth. You can also do this in 30-second spurts in the microwave.
- Meanwhile, pour the bag of strawberries into the bowl of a food processor fitted with the blade attachment. Pulse until they are in fine crumbs.
- Make filling: Crush 2 graham crackers in a sealed plastic bag with a rolling pin. Pour graham cracker crumbs, 1/3 cup powdered sugar, and 1/2 cup peanut butter into a medium mixing bowl. Reserve 1 tablespoon of the strawberry crumbs and pour the rest into the bowl. Beat peanut butter mixture until crumbly and combined.
- Assemble: Sprinkle a pinch of reserved strawberry crumbs and a pinch of salt into the bottom of each skull mold. (If you'd like completely smooth chocolate skulls, skip this step). Top with 1-2 teaspoons of the melted chocolate, depending on how large or small your molds are. Keep chocolate over the bowl of hot water when not using to keep it melted.
- Using the paint brush, gently spread the chocolate around until it covers the strawberries and salt, trying not to pick any of it up with the brush. After you've covered the strawberries take any remaining chocolate and brush it up the sides of each mold, you might need to use extra chocolate. Keep the coating thin, you want a layer that is about 1/16-inch thick. Set in freezer to harden, about 5 minutes.
- Remove from freezer and fill each mold with about 2 teaspoons of the peanut butter mixture. The amount will vary depending on the size of your mold, but you want the skulls to be almost completely full, with a little room left at the top for a thin chocolate layer. Gently press down on the filling to make it firm.
- Cover filling with about 1-2 more teaspoons of chocolate, spreading it to cover filling completely. Smooth out the tops if necessary and freeze until solid, about 20 minutes.
- Remove from freezer and flip molds upside down on a clean surface. Tap the mold a couple times on the counter to pop out the skulls. If skulls are not coming out, run very briefly under warm water until they release. Let sit 10-15 minutes to defrost before serving.
Nutrition
Notes
- Nut-Free / Allergy Swap: Replace the peanut butter with sunflower seed butter (SunButter) or creamy cookie butter (speculoos), and use gluten-free graham-style crackers to accommodate common classroom or party dietary restrictions.
- Mold Material Matters: Silicone molds make demolding effortless because you can simply peel back the edges. If using rigid plastic candy molds, chill the skulls until the chocolate contracts slightly and pulls away from the plastic before tapping them out.
- Tempering vs. Melting Wafers: If you want calaveras that can sit out at room temperature without melting on fingers or blooming (developing white streaks), temper real chocolate with cocoa butter, or use high-quality compound chocolate / melting wafers (such as Guittard A’Peels or Ghirardelli Melting Wafers).
- Flavor Variations: Swap freeze-dried strawberries for freeze-dried raspberries to add a tart contrast, or mix 1/4 teaspoon of ground cinnamon and a tiny pinch of cayenne into the chocolate for a spiced Mexican chocolate profile.
Tried this recipe?
Let us know how it was!Did you love this recipe? I want to know! Leave me a comment and snap a photo for Instagram! Tag @holajalapeno so I can see your beautiful creation! Your feedback is super important to me.
Also, don’t forget to sign up for my weekly newsletter, lots of good stuff there too!



These look amazing, I love the crushed dried strawberries they really make the skulls stand out. I am a little worried the filling would never make it to the chocolates…with graham crackers and peanut butter I wouldn’t be able to keep my husband out of the bowl 🙂 Happy Halloween!
Yes, the filling is kind of addictive, but here’s a secret….this recipe makes more than you’ll need so you can eat some and no one will know the difference. Shhhh, don’t tell anyone. 🙂