A good paletas recipe is one of the best ways to celebrate summer’s sweetest fruit. These colorful frozen treats are refreshing, packed with real fruit flavor, and exactly what I want waiting in the freezer on a hot afternoon.
This post may contain affiliate links. Read our affiliate policy.
Post last updated June 13, 2026
What Are Bandera Paletas?
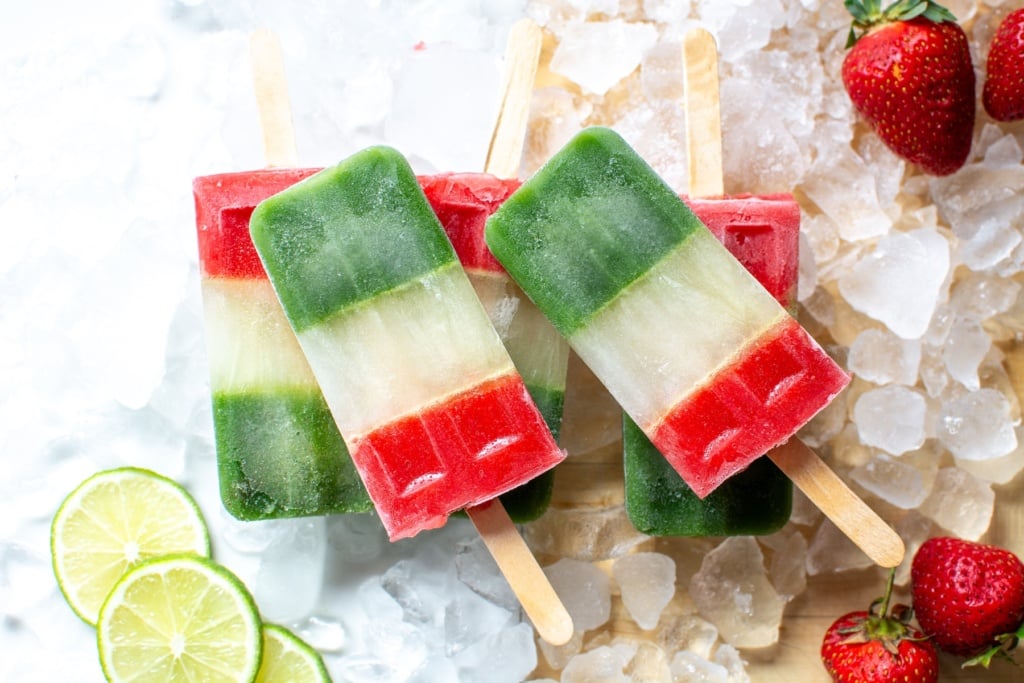
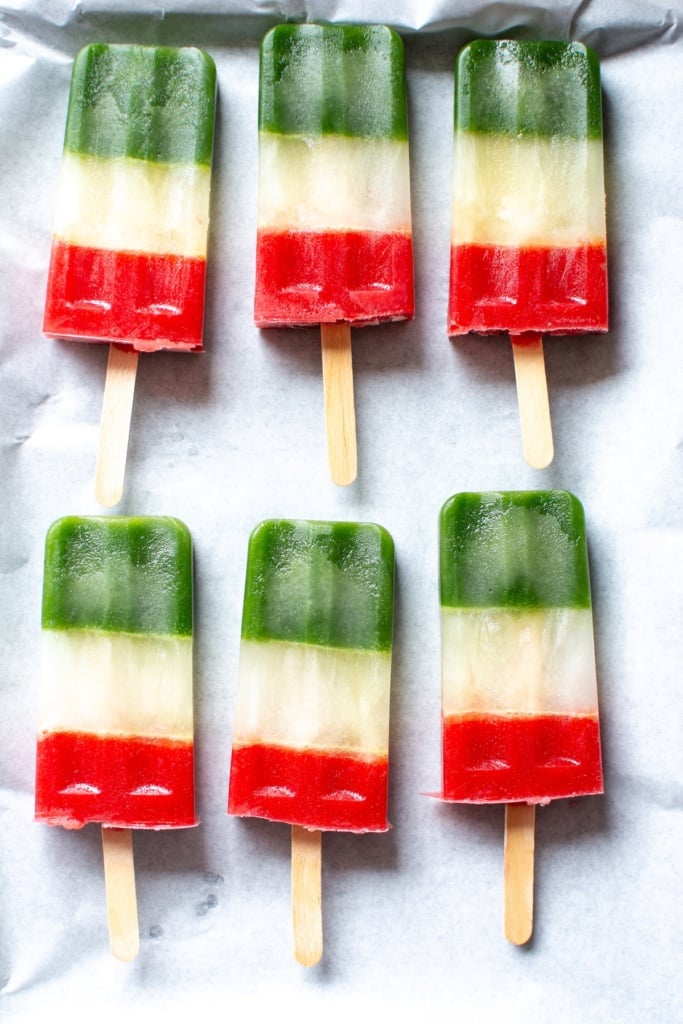
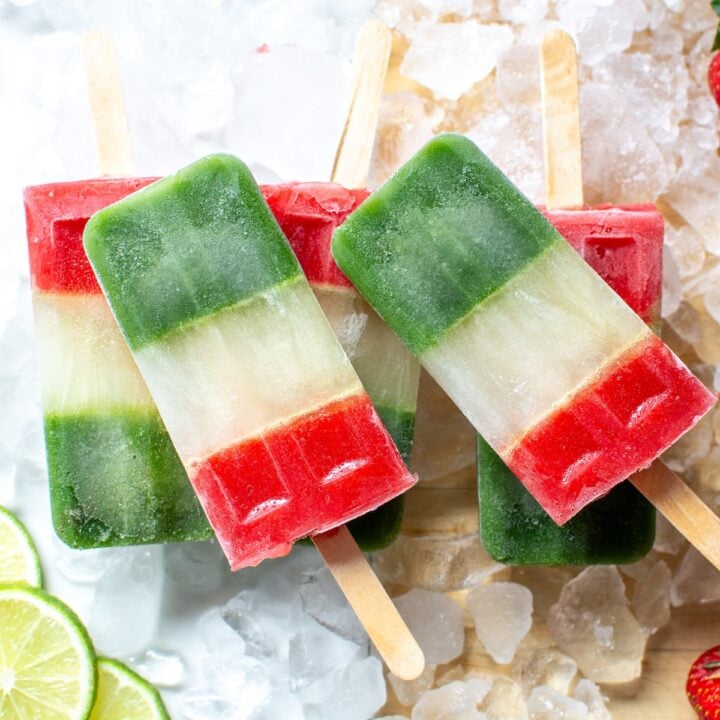
If you’ve ever purchased Mexican fruity popsicles from street vendors in Mexico, you’ve likely seen bandera paletas (flag popsicles) displayed alongside other favorite flavors. “Bandera” means flag in Spanish, and these colorful ice pops are designed to resemble the Mexican flag with green, white, and red layers.
Unlike creamy paletas made with heavy cream or coconut milk, these Mexican paletas focus on bright fruit flavors (and even feature a hidden vegetable for added color). The result is a healthy, refreshing treat made with natural ingredients that’s especially welcome on hot summer days.
One of the things I love most about these icy treats is how versatile they are. Some are creamy and indulgent, like my Creamy Coconut Lime Paletas or Salted Cookies and Cream Paletas. If you prefer tart fruit flavors, try making these Strawberry Rhubarb Paletas or Lemon Balm Lime Paletas.
If you’re looking for a super healthy paleta, try my jicama pops!
Why You’ll Love These Bandera Paletas
- Naturally colored with fresh fruits and vegetables
- Bright, refreshing flavors perfect for hot weather
- A fun way to celebrate Mexican holidays and summer gatherings
- Made with simple ingredients you can find at most grocery stores
- A beautiful make-ahead dessert that keeps well in the freezer
Ingredients You’ll Need
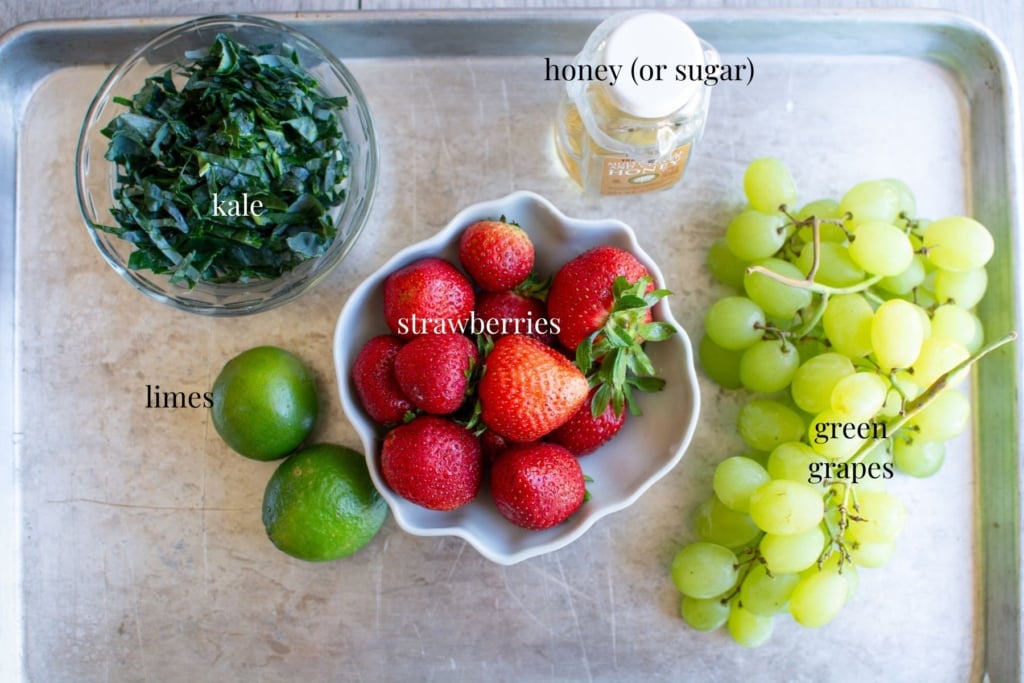
- Green grapes: For the naturally sweet green layer and provide lots of juiciness.
- Baby kale: The grapes aren’t that green on their own, the kale helps deepen the color and add a bit of nutrition, but don’t worry, the flavor is still sweet and delicious (these don’t taste like salad). 🙂
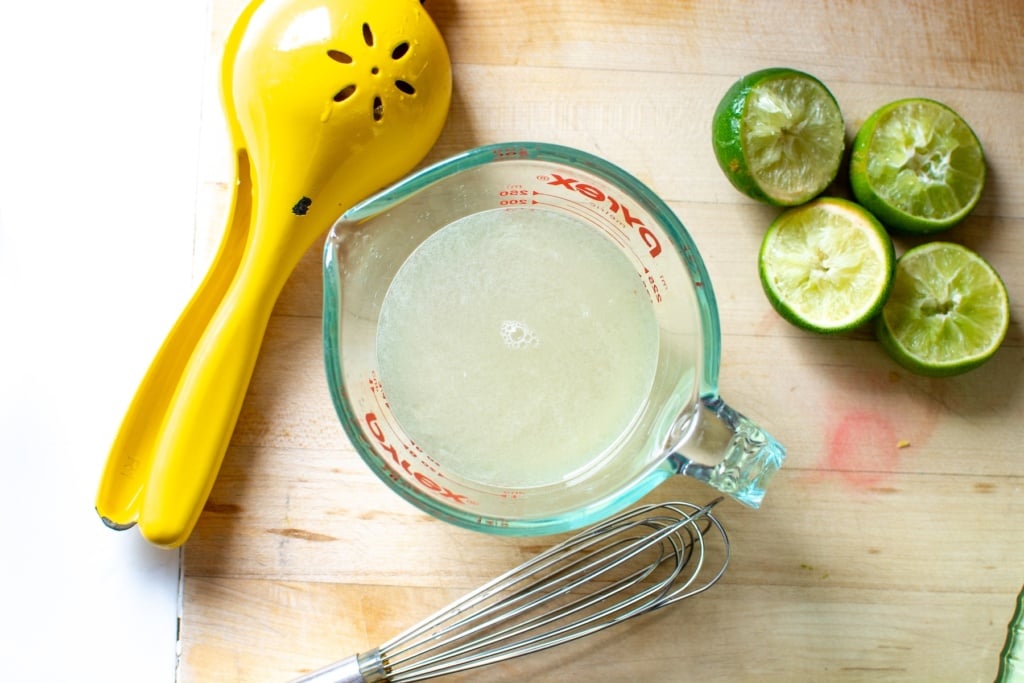
- Fresh lime juice: This is the flavor bomb that creates the white center layer in our flag. Use freshly-squeezed limes for the best flavor.
- Sugar (or honey): Adds the sweetness you’d expect from a really good paleta.
- Strawberries: Create the vibrant red layer. Fresh fruit is best but frozen will work if you thaw them before blending.
How To Make Bandera Paletas
Make the green layer: Blend the grapes, kale, and sugar in a high-speed blender until smooth. Pour through a fine-mesh sieve, pressing down to separate the juice from the solids. Taste to see if it is sweet enough. If not, add another teaspoon or two of sugar.
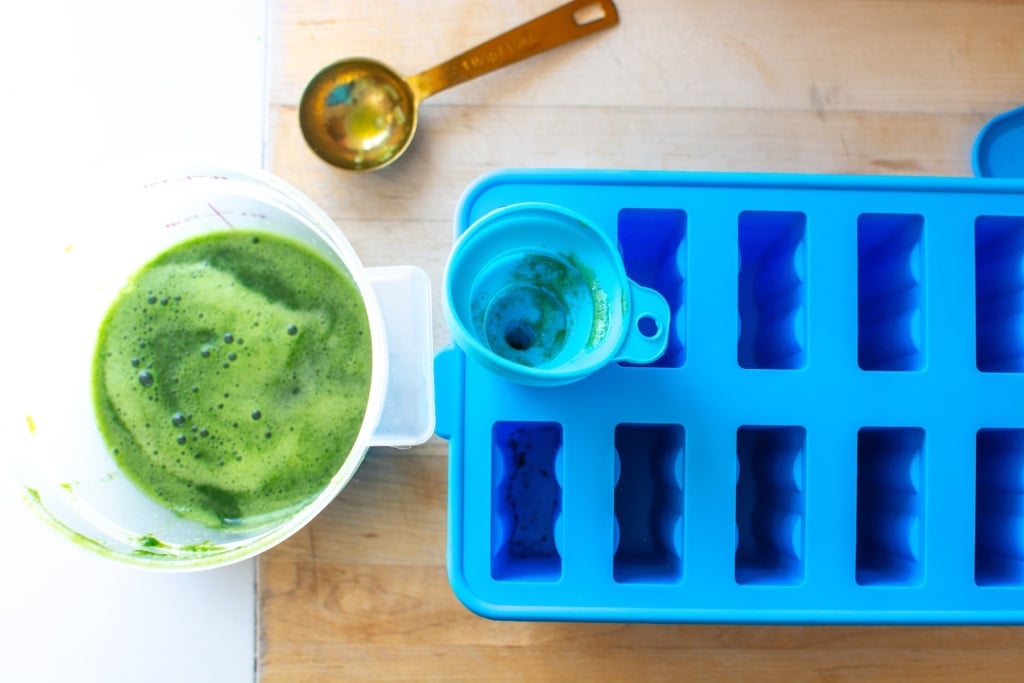
Freeze the green layer: Pour 2 tablespoons of the green layer into the bottom of 8-10 popsicle molds (this will depend on how large your molds are). A small funnel makes this much easier. Freeze for about 4 hours or until completely solid.
Make the white layer: Whisk together the fresh-squeezed lime juice and 2 more tablespoons of sugar. Pour 2 tablespoons of this lime flavor on top of the frozen green layer. Insert the popsicle sticks and freeze another 4 hours.
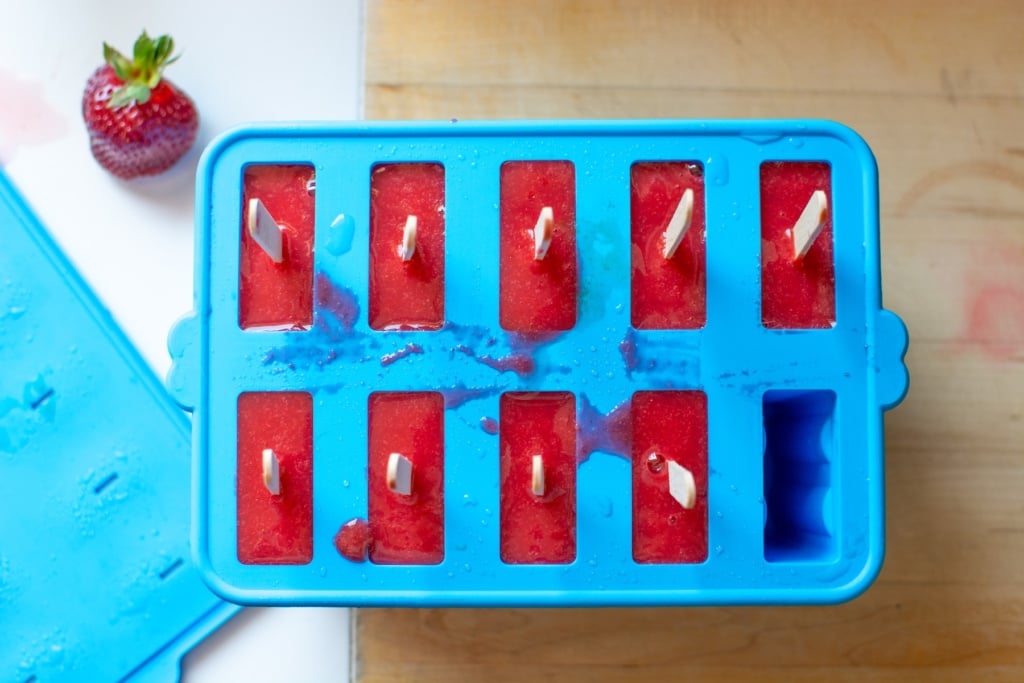
Make the red layer: Blend the strawberries with remaining 1 tablespoon of sugar. Pour through a fine mesh sieve like you did with the grapes. Taste and add more sugar if needed. Pour 2 tablespoons of the strawberry mixture on top of the lime mixture and return to the freezer for another 4 hours.
Enjoy! Run the paleta molds under warm water until the popsicles slide out easily. Enjoy immediately or store in the freezer for up to a week.
Equipment You’ll Need
 Buy Now →
  Buy Now →
 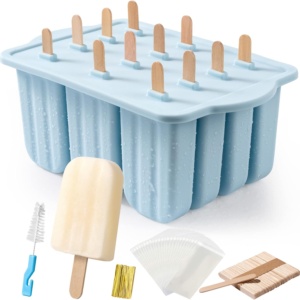 Buy Now →
 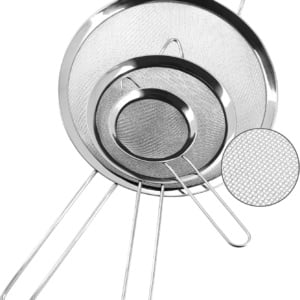 Buy Now →
  Buy Now →
  Buy Now →
 Make-Ahead and Storage
The paletas can be made up to a week in advance and kept in the freezer. I don’t like to keep them much longer than that because they will start to get freezer burn and loose their flavor.
Once they are completely frozen, remove all the paletas from the mold and store between pieces of parchment paper in a freezer-safe container in the freezer.
Serving Suggestions
I love making a batch of these paletas for summer parties! They are the perfect ending to a cook-out. Start with grilled al pastor chicken wings, then try my sangria-marinated shrimp skewers, this crisp baby kale salad, my pumpkin chipotle cornbread, and finish with these fun, colorful Mexican flag paletas.
If you are hooked on homemade desserts after making these, try my boozy horchata paletas next or this no-churn blueberry mezcal ice cream for a different kind of frozen treat.
FAQs
The most common cause is adding a new layer before the previous one is completely frozen. Give each layer enough time to firm up fully.
Flip the mold upside down and run under warm water until they loosen, then gently wiggle them out.
Absolutely. The colors are what make these Bandera Paletas special, but watermelon, kiwi, cucumber, pineapple, and other fruits can be substituted while maintaining the red, white, and green theme.
Bandera Paletas {Grape-Lime-Strawberry Pops}
A good paletas recipe is one of the best ways to celebrate summer's sweetest fruit. These colorful frozen treats are refreshing, packed with real fruit flavor, and exactly what I want waiting in the freezer on a hot afternoon.
Ingredients
- 2 cups green grapes
- 1/2 cup baby kale, tightly packed
- 1/2 cup fresh squeezed lime juice
- 1/2 cup water
- 5 tablespoons sugar or honey , divided (plus more to taste)
- 1 pound strawberries (about 3 cups), hulled and cut in half if large
Instructions
- For the green layer, combine 2 cups grapes, 1/2 cup kale, and 1 tablespoon sugar in a blender. Blend on high until smooth. Pour mixture through a fine mesh sieve, pressing down on the solids to squeeze out all the juice. Taste and whisk in more sugar a teaspoon at a time until it is sweet enough for your tastes.
- Pour 2 tablespoons of the green juice into each mold (a small funnel makes this much easier).
- Place in the freezer and freeze until solid, about 4 hours.
- Combine 1/2 cup lime juice, 1/2 cup water, and 3 tabelspoons of the sugar. Whisk until sugar is dissolved. Taste and add more if it is too tart.
- Pour 2 tablespoons of juice into each mold, insert popsicle sticks and freeze until solid.
- Blend the 1 pound strawberries and remaining 1 tablespoon of sugar in a blender utnil smooth. Strain mixture through a fine mesh sieve like you did with the green layer. Taste and add more sugar if needed.
- Pour 2 tablespoons of the strawberry mixture into each mold and freeze until solid.
- To remove from the molds, run the paletas under warm water until they slide out of the mold. Paletas will keep in the freezer for up to a week.
Notes
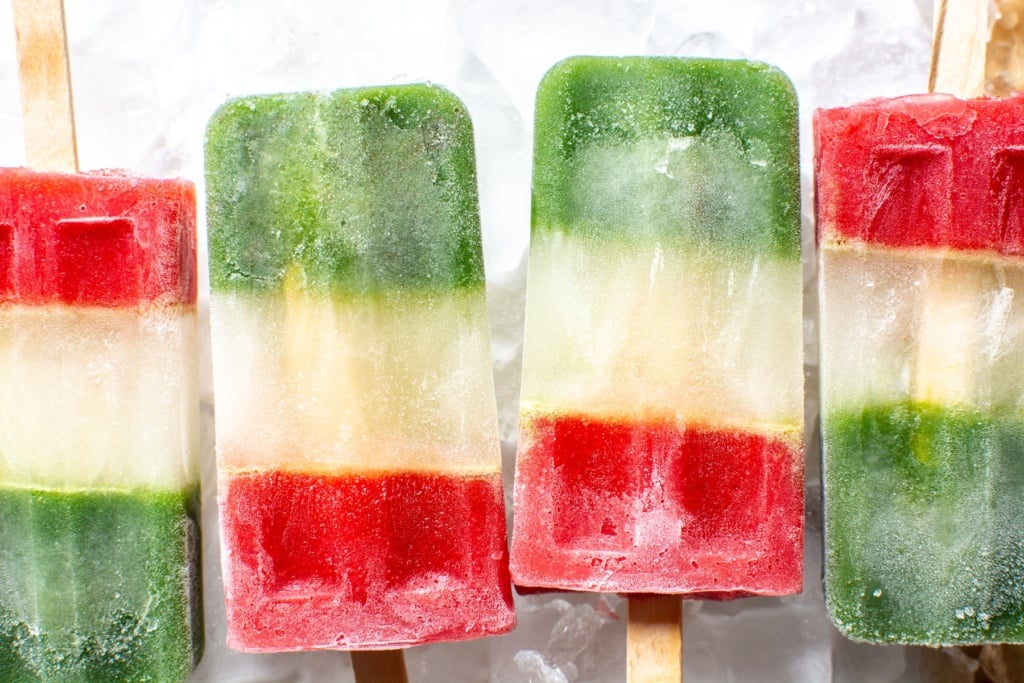
- Preventing Layer Bleeding: To get crisp, clean stripes like the ones pictured above, ensure each layer is completely frozen solid before pouring the next. If the lower layer is still soft, the new liquid will bleed into it and blur the flag effect.
- The Stick Alignment Trick: Step 5 asks you to insert the sticks into the lime layer. If your popsicle mold doesn't have a secure lid to hold the sticks perfectly straight, wait about 30 to 45 minutes after pouring the lime juice. Once it reaches a slushy consistency, insert the sticks—they will stay perfectly upright.
- Long-Term Storage: While the recipe mentions they keep for a week, you can extend this to 3 weeks by unmolding the paletas all at once, wrapping each tightly in plastic wrap, and storing them together in an airtight Ziploc bag to prevent freezer burn.
- Alternative for Baby Kale: If you want that brilliant green color without using kale, you can easily substitute fresh spinach.
Nutrition Information:
Yield: 8 Serving Size: 1Amount Per Serving: Calories: 107Total Fat: 0gSaturated Fat: 0gTrans Fat: 0gUnsaturated Fat: 0gCholesterol: 0mgSodium: 6mgCarbohydrates: 28gFiber: 2gSugar: 23gProtein: 1g


I mean, these are beyond cute! I could LOVE these on any warm day here in LA!
Thanks Gaby! I’d love to make them for you. (I’d also take a warm day anywhere right now) 🙂